SSH Client Authentication
Carto-Lab allows users to authenticate with external Git repositories (e.g., institutional GitLab or GitHub) securely using SSH Deploy Keys or Personal SSH Keys.
This guide explains how to configure SSH authentication by mounting key and configuration files directly into the container via Docker Compose, requiring no modifications to the base container image.
Note
SSH Client Authentication is supported by Carto-Lab v1.1.0 onward.
Deployment Context
This guide assumes your Carto-Lab environment is hosted on a remote server or VM, as is described with our standard setup using our Ansible Deployment strategy.
If you are running Carto-Lab locally on your own laptop (e.g., via Docker Desktop), you can still use this guide to make a host SSH key available inside your container. However, you will need to adapt paths and host context to your specific setup.
Motivation: Lowering Barriers to FAIR Data Science
Adopting version control and Git-based collaboration is foundational to reproducible research and the FAIR (Findable, Accessible, Interoperable, Reusable) data principles. In practice, however, Git authentication remains one of the largest stumbling blocks for domain researchers and data scientists:
- Client Machine Restrictions: Researchers often work on locked-down institute or corporate laptops where generating private keys, configuring SSH agents, or installing terminal tooling is restricted or technically cumbersome.
- Credential Leaks via Personal Access Tokens: Without SSH keys, users frequently resort to HTTP Personal Access Tokens (PATs) embedded directly into repository URLs (e.g.,
https://oauth2:TOKEN@gitlab...). This creates severe security risks, as tokens are easily leaked in shell history, notebook outputs, or accidental Git commits. - Cognitive Overhead: Learning key pairs, passphrase prompts, and agent forwarding all at once creates friction that discourages researchers from adopting version control altogether.
Carto-Lab solves this by decoupling Git authentication from the user's local machine. By pre-configuring a dedicated, isolated SSH key pair on the server and mounting it read-only into /root/.ssh/:
- Zero Client Setup: The user does not need an SSH client or SSH keys installed on their personal laptop. Everything takes place entirely within their browser.
- Immediate Usability: Clicking Push or Pull in the JupyterLab Git GUI extension or running
gitcommands in the embedded terminal authenticates instantly and securely. - A Stepping Stone to Best Practices: This setup acts as a gentle, safe on-ramp, allowing data scientists to experience the power of version control and reproducible collaboration without being blocked by cryptographic tooling hurdles.
1. Administrator Setup (Host Machine)
These steps are performed on the host machine running Docker to generate the necessary keys and mount them into the container environment.
A. Generate the Key
Create a new Ed25519 SSH key specifically for this Carto-Lab environment. We recommend leaving the passphrase empty for containerized keys:
ssh-keygen -t ed25519 -f ~/.ssh/jupyter_deploy_key -C "jupyter-container-bot" -N ""
Security Implications of a Password-less Key
We strongly recommend using a password-less key for this setup. Because this is a dedicated key strictly scoped to a single user instance/container (and not your personal laptop identity), using a password-less key is standard practice for automated/containerized environments.
It allows the JupyterLab visual Git extension and automated scripts to work immediately without manual unlocking. Ensure you enforce strict file permissions on the host machine to protect this key at rest.
Set strict file permissions. SSH will reject the key if permissions are too open:
chmod 600 ~/.ssh/jupyter_deploy_key
B. Create an SSH Config File
Create a configuration file to map the key to your Git host and automatically accept host fingerprints:
nano ~/.ssh/jupyter_ssh_config
Add the following content. Replace gitlab.hrz.tu-chemnitz.de with your actual Git domain; you can configure multiple hosts, including github.com:
Host gitlab.hrz.tu-chemnitz.de
  IdentityFile /root/.ssh/id_ed25519
  StrictHostKeyChecking accept-new

Host github.com
  IdentityFile /root/.ssh/id_ed25519
  StrictHostKeyChecking accept-new
Watch out for typos
Ensure the IdentityFile path exactly matches the path inside the container (/root/.ssh/id_ed25519). Do not include Docker volume flags (like :ro) in this text file, as SSH will treat it as part of the filename and fail.
C. Applying the Mounts
Depending on how your environment is deployed:
Option A: Managed Multi-User Servers (Ansible Automated)
If your server is managed via our Ansible Deployment workflow, no manual Docker Compose editing is required. Run the 2.1_reconcile_cartolab.yml and Ansible will automatically detect the new jupyter_deploy_key in the user's .ssh directory, inject the volume mounts into docker-compose.override.yml, and restart the container with the key mounted to /root/.ssh/id_ed25519:ro.
Option B: Standalone / Local Instances (Manual Docker Compose)
If running a standalone instance, add the mounts to docker-compose.override.yml:
# docker-compose.override.yml
services:
  jupyterlab:
    volumes:
      - ~/.ssh/jupyter_deploy_key:/root/.ssh/id_ed25519:ro
      - ~/.ssh/jupyter_ssh_config:/root/.ssh/config:ro
    environment:
      - GIT_USER_NAME=${GIT_USER_NAME:-Jupyter Container Bot}
      - GIT_USER_EMAIL=${GIT_USER_EMAIL:-bot@fdz.ioer.info}
In your host's .env file, you can optionally override the fallback identities:
GIT_USER_NAME="Carto-Lab User"
GIT_USER_EMAIL="user@example.com"
Apply the changes:
docker compose up -d
2. User Setup: Register the Key in GitLab / GitHub
Before the container can use the key, the public half must be authorized on your Git platform.
Output the public key on the host machine and copy it:
cat ~/.ssh/jupyter_deploy_key.pub
How you register the key depends on how the container is being used:
Scenario A: Personal User Workspace (Recommended)
If this Carto-Lab environment is dedicated to a specific user, the key should be tied to their personal GitLab/GitHub account. This ensures all CI/CD pipelines, commits, and pushes are correctly attributed to them.
- Send the copied public key to the user.
- Have the user log into GitLab and navigate to Profile/Edit Profile → Access → SSH Keys (or go directly to
/-/user_settings/ssh_keys). - The user pastes the key into the "Key" field and clicks Add new key.
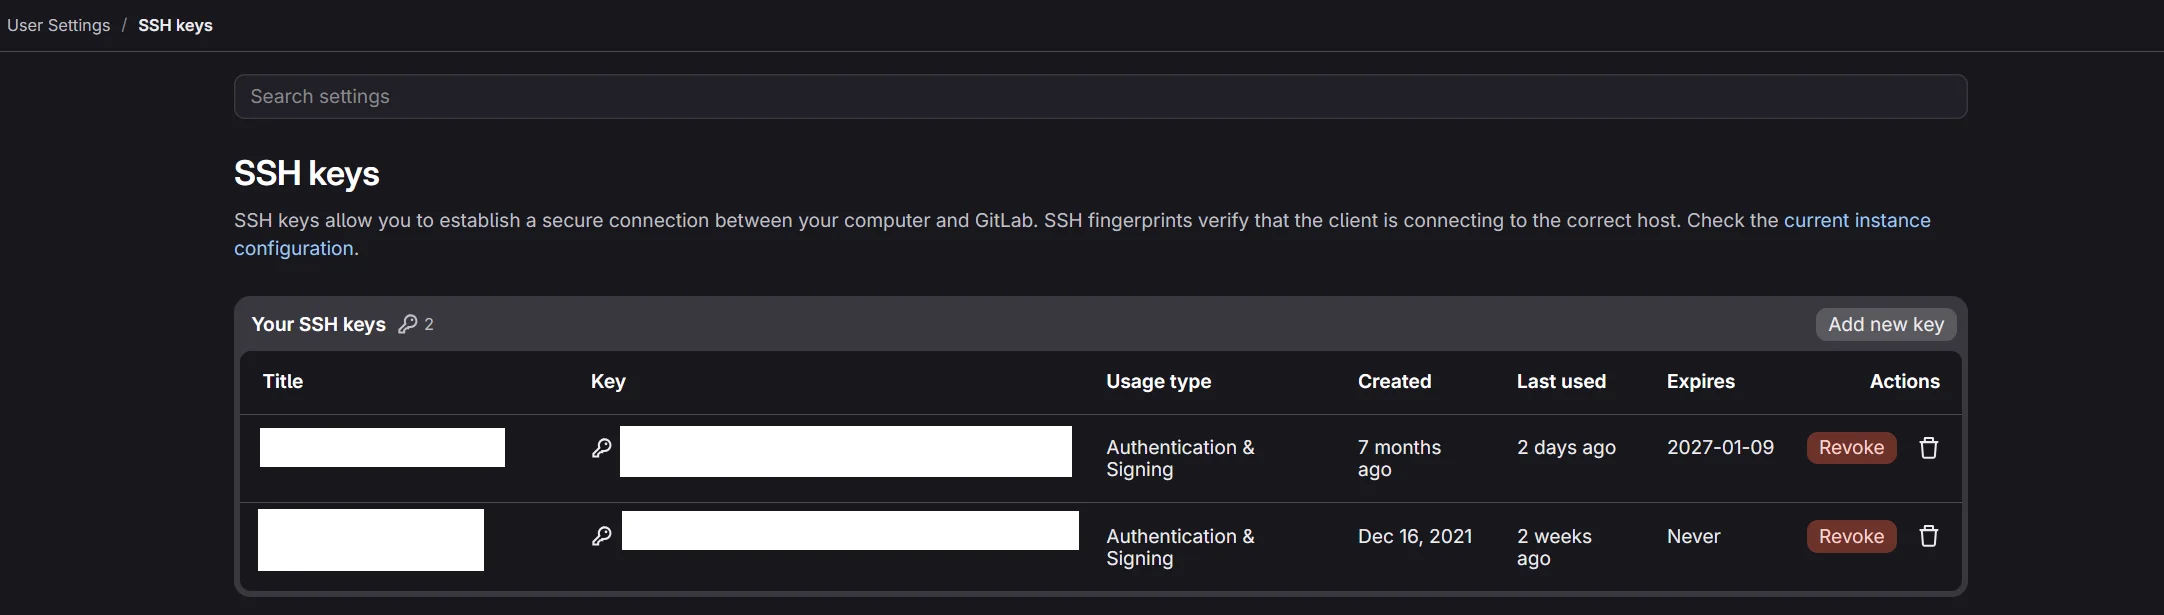
Fig.: Multiple SSH Keys added in Gitlab.
Scenario B: Shared Bot / Automation Workspace
If this environment is for an automated pipeline or shared service account, add it as a Project Deploy Key.
Note
CI/CD pipelines triggered by this key will show the avatar of the administrator who adds it.
- In GitLab, navigate to your target project → Settings → Repository → Deploy Keys.
- Paste the key, enable Write access allowed, and click Add key.
3. User Workflow (Inside Carto-Lab)
Because Carto-Lab automatically configures Git identity variables and SSH configuration on startup, no manual setup is required inside the container!
If you created a password-less key (recommended), the user is completely ready to go:
- Visual Git Extension: Click the Git icon in the left JupyterLab sidebar to stage files, commit, push, and pull directly with the UI.
- Terminal: Open a terminal tab inside JupyterLab and run
git push origin mainorgit fetchwithout any credential prompts.
Terminal Users: Why does ssh-add -l say 'The agent has no identities'?
If you open a terminal in JupyterLab and check ssh-add -l, you may see:
The agent has no identities.
This is normal and does not mean Git is broken.
OpenSSH authenticates using the IdentityFile /root/.ssh/id_ed25519 defined in /root/.ssh/config directly from disk—it does not require the key to be pre-loaded into the background ssh-agent. Terminal commands like git pull, git push, or ssh -T git@... will work immediately out of the box.
If you prefer or need to have the key explicitly loaded in the agent:
- Automatic loading on first use: If
AddKeysToAgent yesis configured in your SSH config, the very first time you execute agitcommand, OpenSSH will automatically inject the key intossh-agent. Any subsequentssh-add -lwill show your key. -
Manual loading: You can manually load the key at any time by running:
ssh-add -t 28800 /root/.ssh/id_ed25519
Because Carto-Lab provides a global container-wide agent socket (/tmp/ssh-agent.sock), this single command makes the key active across all current and future terminal tabs.
Using a Password-Protected Key (Optional)
If you chose to secure your deploy key with a passphrase, automated background commands and the visual Git extension cannot prompt for passwords interactively and will fail until the key is unlocked.
You only need to unlock the key once per container restart. Open a terminal in JupyterLab and run:
ssh-add -t 28800 /root/.ssh/id_ed25519
Enter your passphrase. Because the agent is shared globally across the container, the visual Git extension and all terminal tabs will instantly have access to the unlocked key for the specified lifetime (8 hours in this example).